Painting Mistakes to Avoid: A Guide to Flawless Walls
Introduction
Painting your home can completely transform its mood, style, and energy. A fresh coat of paint can make your walls look brand new, uplift your interiors, and even reflect your personality. Whether you’re tackling a DIY home project or working alongside professionals, the process requires patience, preparation, and precision. However, even the smallest mistakes, like skipping a primer or choosing the wrong paint, can ruin an otherwise perfect finish.
To help you get that smooth, professional look, here are some of the most common painting mistakes to avoid, along with tips on how to fix them for a flawless result.
Skipping Surface Preparation
One of the biggest painting mistakes homeowners make is painting directly on dirty or damaged walls. Dust, oil, and old paint residues can prevent new paint from adhering properly.
Fix: Clean the surface thoroughly using a damp cloth or mild detergent and repair any cracks or holes with filler. Once dry, sand the surface for a smooth base before applying paint.
Ignoring the Primer
A primer acts as a foundation that ensures the paint adheres evenly and lasts longer. Skipping it can cause patchy coverage or early chipping, especially when switching between dark and light shades.
Fix: Always apply a suitable primer, especially on new walls, wood, or glossy surfaces. It seals the surface and helps achieve a uniform colour tone.
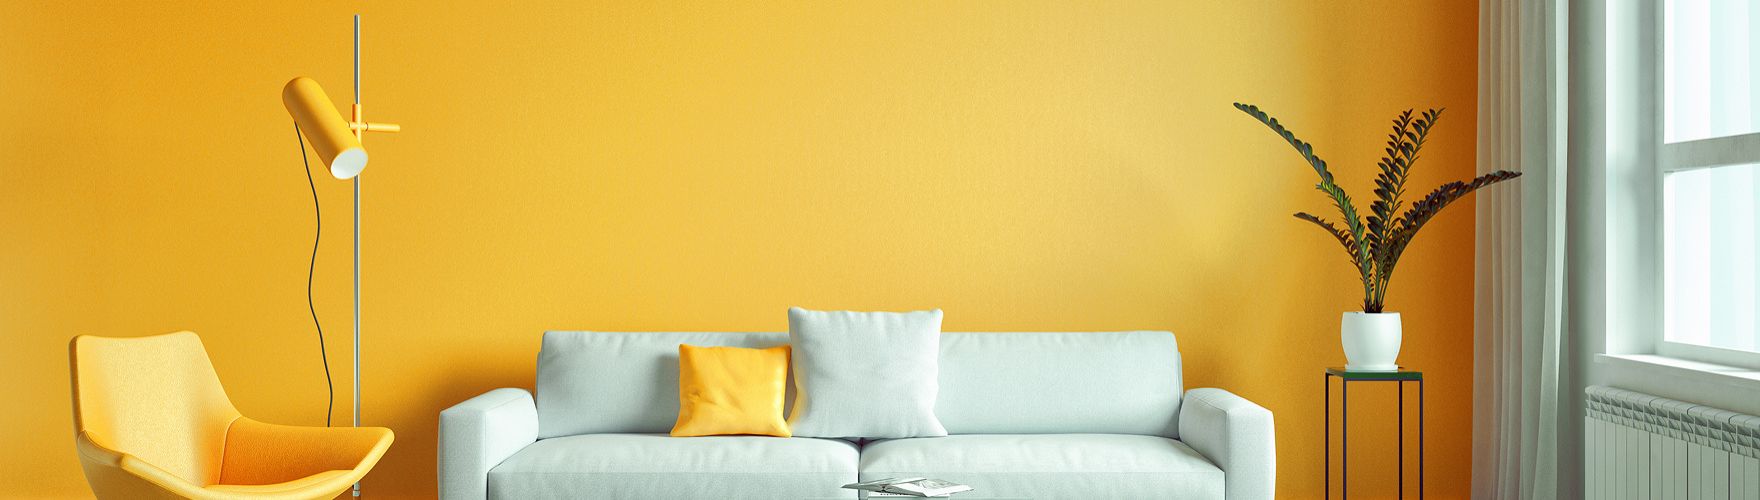
Choosing the Wrong Paint
Each room has its own conditions, humidity, light exposure, and usage. Using the wrong type of paint can lead to poor coverage or fading.
Fix: For bathrooms and kitchens, use moisture-resistant paints. For living rooms and bedrooms, a matte or satin finish works best. Always match the paint type with the wall’s purpose and environment.
Skipping Colour Testing
Paint colours can look different in natural light compared to artificial lighting. Applying a full coat without testing may lead to disappointment once the colour dries.
Fix: Always test your chosen paint on a small section of the wall. Observe it at different times of the day before finalising your colour palette.
Poor Planning and Paint Quantity
Running out of paint mid-project can result in colour inconsistencies and uneven coats.
Fix: Measure your wall area and refer to the paint can’s coverage details to estimate the required amount. It’s always better to have a little extra for touch-ups later.
Not Taping the Edges
Neglecting to tape trims, corners, and edges often results in messy paint lines and smudges.
Fix: Use good-quality painter’s tape to mark clean boundaries. Press it firmly and remove it gently within an hour of painting to prevent peeling.
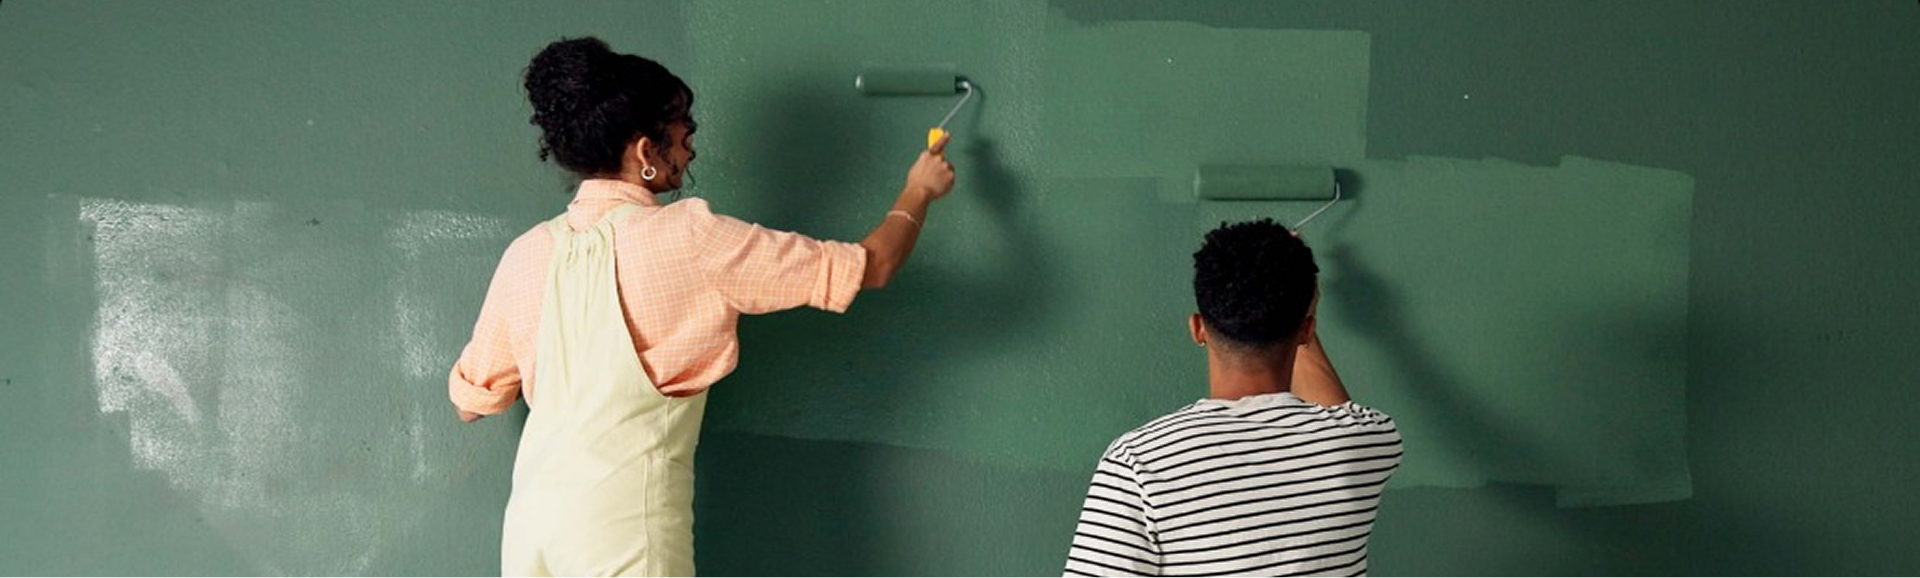
Overloading Brushes and Rollers
Dipping brushes or rollers deep into paint leads to drips and uneven strokes.
Fix: Dip only one-third of the brush or roller into the paint. Roll off excess paint before applying, and use long, steady strokes for a consistent finish.
Painting Without Proper Ventilation
Painting in a closed room slows drying and exposes you to strong fumes.
Fix: Ensure proper air circulation by opening windows and doors. Opt for low-VOC or VOC-free paints to make the process safer and more comfortable.
Rushing the Job
Painting too quickly or skipping drying time between coats often causes streaks and uneven texture.
Fix: Be patient. Let each coat dry completely before applying the next one. A slow, methodical approach ensures a smooth and durable finish.
Painting in the Wrong Sequence
Many people start painting the walls first and leave the ceiling for later, a mistake that leads to dripping and uneven joints.
Fix: Always start from the ceiling, then move to the walls, doors, and trims. This ensures neat edges and prevents overlapping marks.
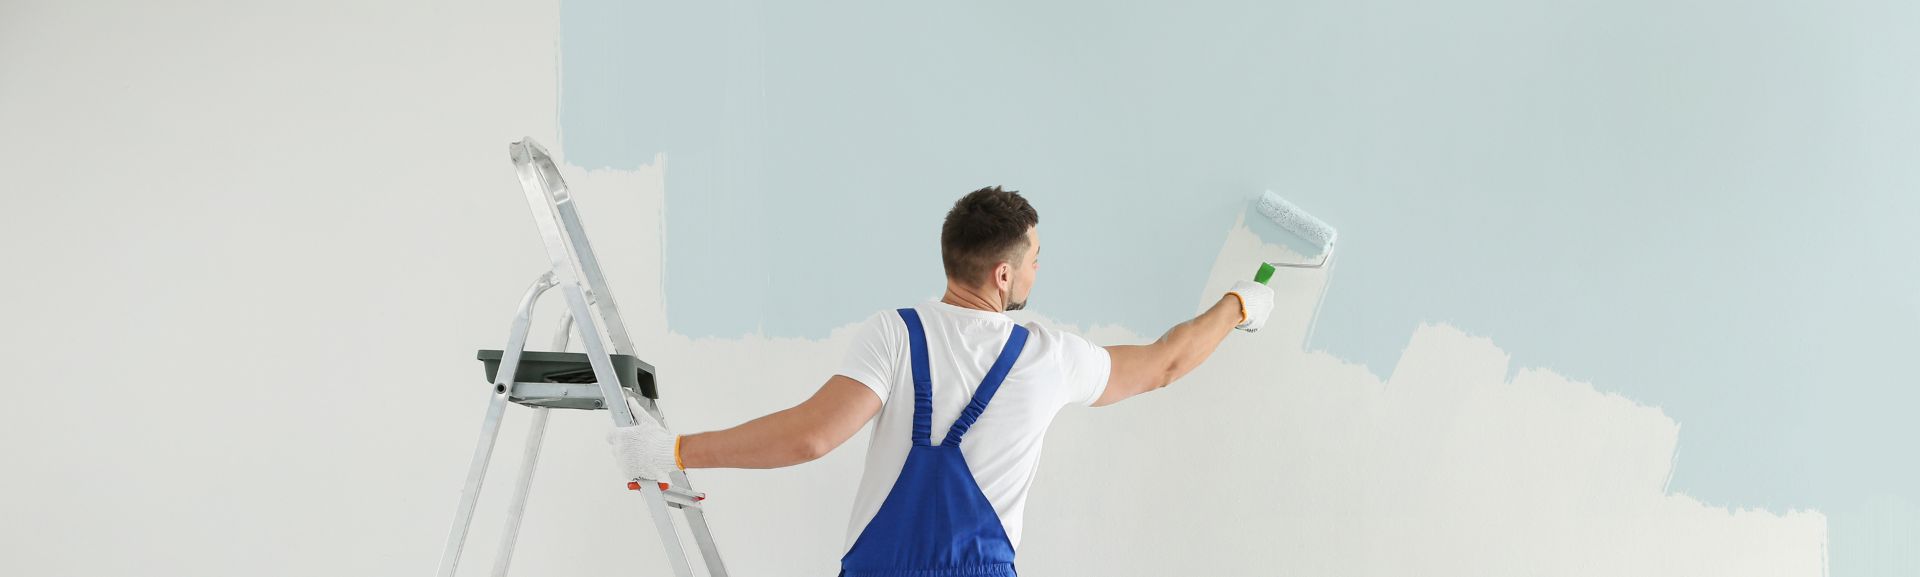
Using Old or Worn-Out Tools
Cheap or old brushes shed bristles and create streaks, affecting your wall’s texture.
Fix: Invest in high-quality rollers and brushes suited for your paint type. For example, synthetic brushes work well with oil-based paints, while polyester ones are ideal for latex paints.
Overbrushing
Even after getting a smooth finish, repeatedly brushing over semi-dry areas can leave visible strokes and uneven texture.
Fix: Apply paint evenly and avoid going back over sections that have already started drying. Let the paint settle naturally for a clean, consistent look.
Applying Paint Too Thickly
Using too much paint in one go can cause dripping, cracking, or uneven drying.
Fix: Apply thin, even coats and build up the colour gradually. Two light coats are always better than one thick layer.
Skipping Cleanup
Leaving your brushes, rollers, and trays dirty after painting can damage them and make future use difficult.
Fix: Clean your tools immediately after finishing each session. Use warm water for latex paints and recommended solvents for oil-based paints. Store them properly for long-term use.
Conclusion
Painting your home can be a fun and fulfilling project, as long as you take the right approach. Avoiding these common painting mistakes can save you time, effort, and money while ensuring a smooth, professional-looking finish.
Remember: preparation, patience, and precision are the keys to a perfect paint job. From cleaning your walls and testing your colours to using the right tools and drying times, every small step contributes to a flawless finish that enhances the beauty of your space.